REPAIRS
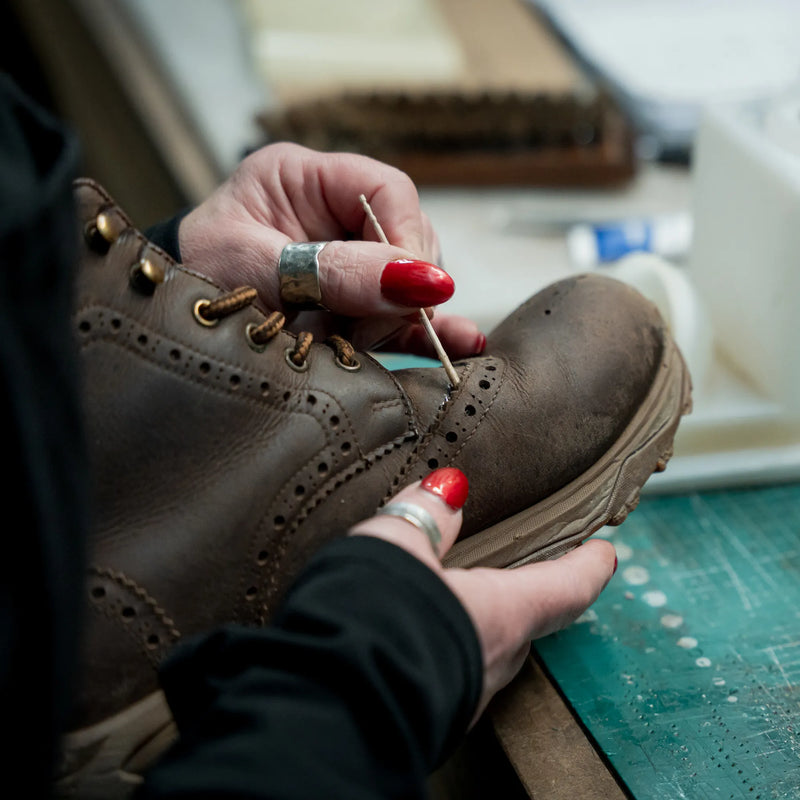
The skilled team in our factory in Whalley, Lancashire, carry out all repairs and refurbishments in-house.


Looking for the nearest retail store? Or just want to see our event calendar?
Store locator
Need to return your purchase? Return or exchange your shoes below.
RETURNS & EXCHANGES
REPAIR, TRADE IN, MARKET
RE-LANX is our way to keep proper footwear in use for longer and out of landfill.
The aim is simple: keep the journey going, whether that means repairing a customer's existing pair, or refurbishing and reselling shoes that still have life left in them.
All RE-LANX work will be done in our Whalley factory, Lancashire.
The skilled team in our factory in Whalley, Lancashire, carry out all repairs and refurbishments in-house.
Trade in your old LANX footwear in exchange for LANX Loyalty Credits to go towards your next pair.
Shop our RE-LANX Market stocked with refurbished LANX footwear. Follow the link below and we'll let you know when the market opens in August 2026.
NOTIFY ME
What do you do when you’re done with your shoes? For most people, the answer is simple: they throw them away. Every year in the UK, around 150 million pairs of shoes end up in landfill. Many of them are barely worn, with some disposed of within the first 12 months of wear. That’s a statistic that has never sat right with us, and we want to do our part to turn it around.
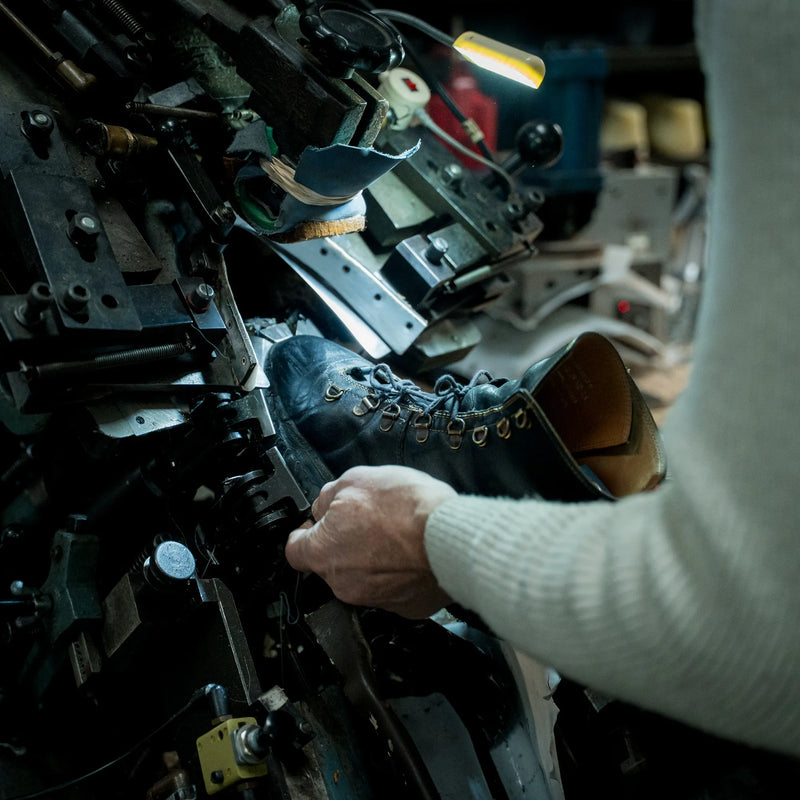
We are excited and extremely proud to welcome you to RE-LANX, where we aim to keep the journey going. Whether that means repairing your own pair ready for more miles, or refurbishing them and passing them on to someone new, the goal is simple: keep proper footwear in use and out of landfill. All repairs and refurbishments are carried out in-house by our team in our factory in Whalley, Lancashire.
Does your favourite pair need some TLC? Is there something at the back of the wardrobe that you no longer want? Do you fancy something that’s already got a story? RE-LANX: keep the journey going.
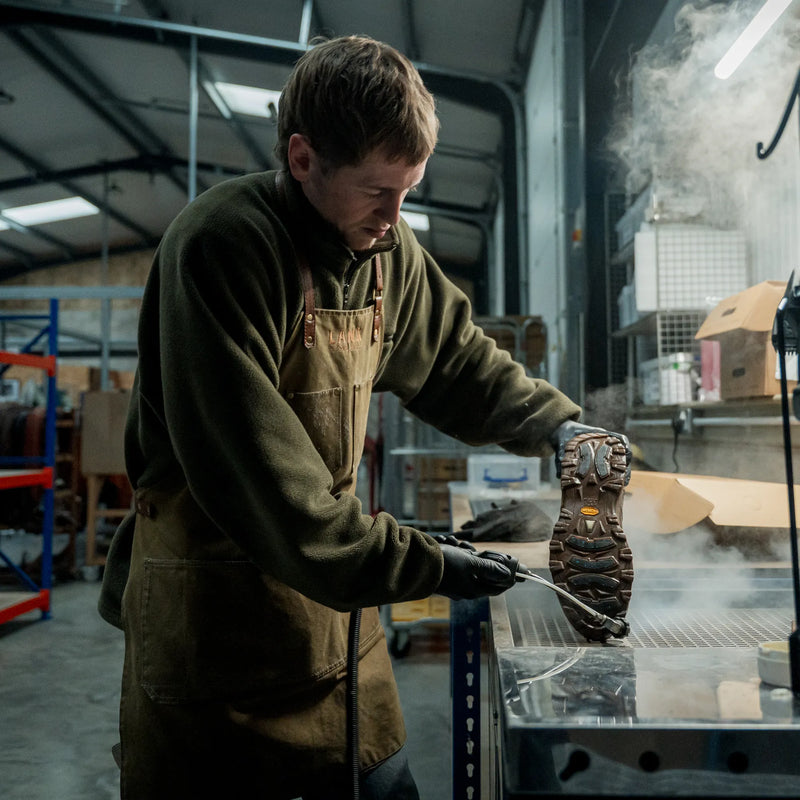
Sam is LANX Factory Manager, overseeing all aspects of the RE-LANX process.
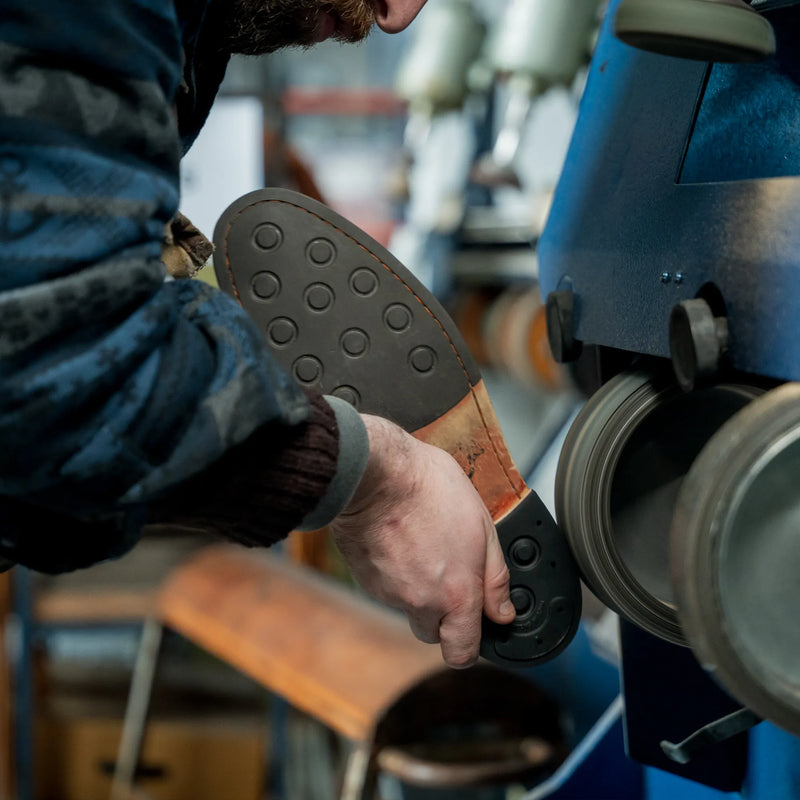
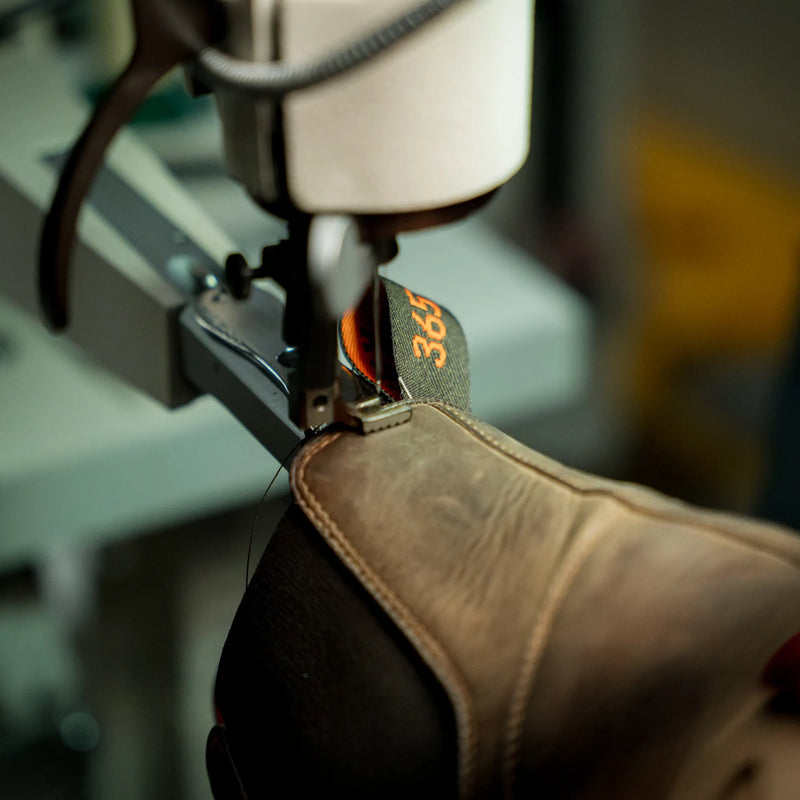
Josh is one of our factory's cobblers, performing all sole and heel repairs.
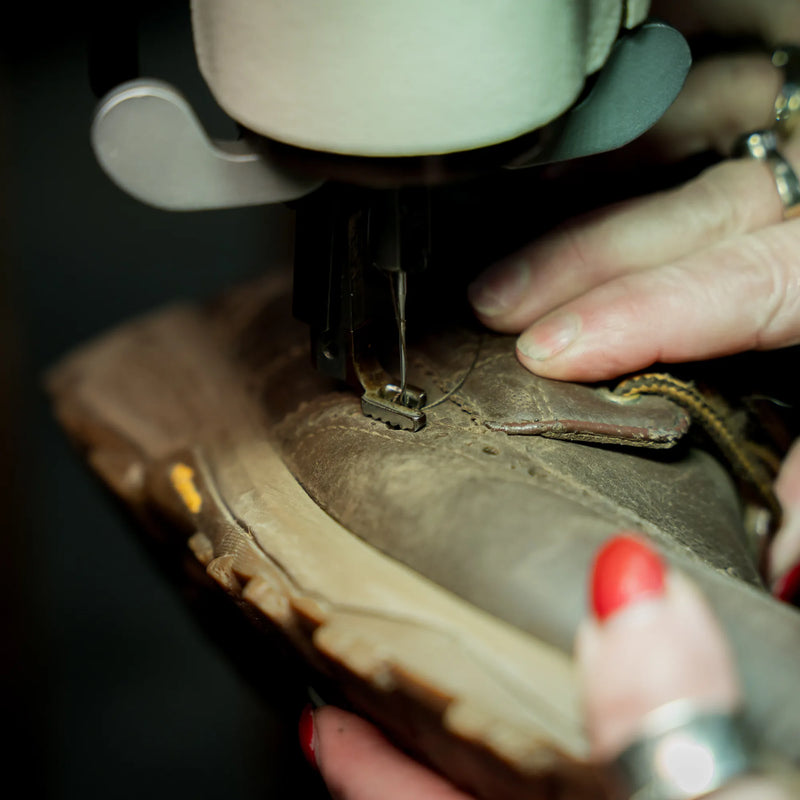
Dea is our factory stitcher, responsible for stitching-related repairs.
Richard is a cobbler and cordwainer, responsible for relasting and sole unit repairs.